 EN
EN 中文
中文 ES
ES RU
RU FR
FR PT
PT AR
AR DE
DEUltrasonic Pump Control: A Beginner’s Guide to Relay-Based Level Switching

Ultrasonic pump control lets you start and stop a pump automatically from a single non-contact sensor, without floats that stick or electrodes that foul. The idea is simple: a sensor measures the liquid surface from above, and when the level crosses a setpoint you have defined, a built-in relay opens or closes a contact that switches the pump. For a sump, a holding tank, or a transfer station, that relay output is often all the logic you need to keep a vessel between a low and a high mark.
This guide walks a first-time integrator through the practical steps: choosing high and low setpoints, wiring the relay, building the pump start/stop logic, adding hysteresis so the pump does not chatter, and protecting against overflow and dry running. It closes with guidance on when to move beyond a simple relay toward analog or digital outputs.
How a non-contact ultrasonic sensor sees the level
A Volivue Ultrasonic Liquid Level Sensor sits above the liquid and sends a short ultrasonic pulse downward. The pulse reflects off the surface, returns to the transducer, and the sensor calculates distance from the round-trip time. Because nothing touches the medium, there are no moving parts in the liquid and no electrodes to coat or corrode.
The measurable span depends on the model, but a typical working range is roughly 0.3 to 15 m, with accuracy on the order of ±0.25% of full scale by model. Enclosures are rated IP67 or IP68, so the sensor tolerates washdown, splashing, and humid pit environments common in pumping applications. For pump control specifically, the sensor distinguishes “how far down is the surface,” and you convert that into “is the tank full or empty” using setpoints.
Two terms matter from the start. The sensor reports distance from the face of the transducer to the surface, which falls as the tank fills. Level is the inverse — the depth of liquid in the vessel. Decide early which convention your controller or display uses, because a high level corresponds to a short distance, and mixing the two is the most common beginner mistake.
Setting high and low level points
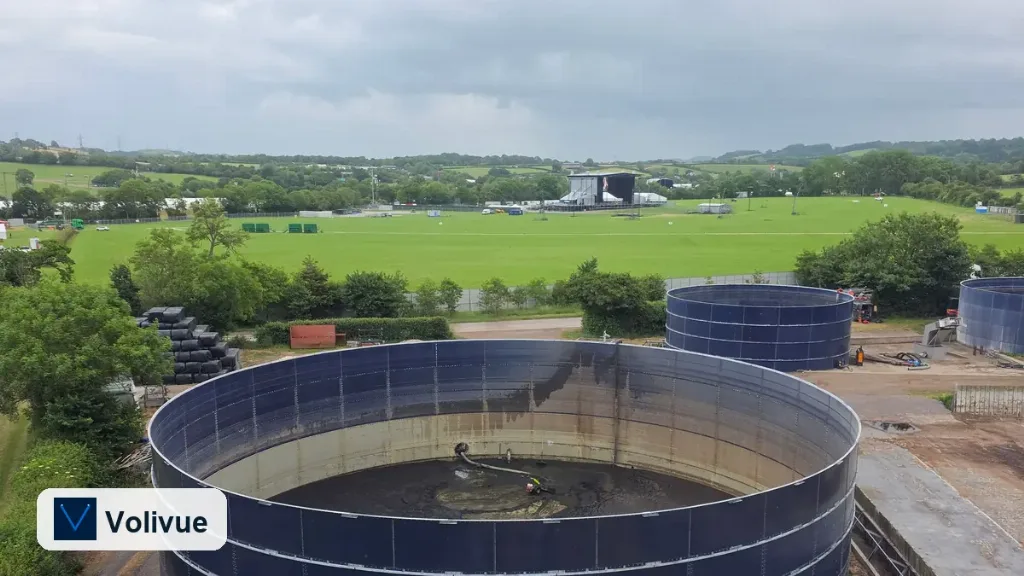
Pump control with a relay is built around setpoints — the level values at which the relay changes state. For a basic empty-on-high, fill cycle in a sump or wastewater pit, you typically define a high setpoint and a low setpoint.
Work through it in plain terms first. Identify the highest safe liquid level before overflow risk, then back off by a margin to set your high point — this is where you want the pump to switch on and start emptying. Identify the lowest safe level before the pump loses suction or the vessel runs dry, then add a margin to set your low point, where the pump switches off. The gap between the two is your working band, and the pump cycles within it.
A worked example helps. Suppose a pit is 4 m deep and the sensor is mounted 0.5 m above the maximum liquid level, giving a 4.5 m measuring window. You might set the high point at 3.6 m of liquid (pump on) and the low point at 1.0 m of liquid (pump off). The pump then runs only between those marks, moving a known volume each cycle. Keep both setpoints inside the sensor’s specified range and away from the near blanking zone close to the transducer, where measurements are unreliable.
Wiring the relay output for start/stop

The relay inside the sensor is a dry contact — a switch the sensor opens or closes. It does not power the pump directly. Instead, it switches the coil of a motor contactor or a control-circuit input, and the contactor carries the motor current. Always size the contactor and protection for the pump motor, not for the sensor relay.
A typical beginner wiring path looks like this:
- The sensor relay contact is wired in series with the contactor coil circuit.
- When the level crosses the setpoint, the relay closes (or opens, depending on configuration) and energizes or de-energizes the contactor coil.
- The contactor’s main contacts then switch the three-phase or single-phase supply to the pump motor.
Confirm whether your model’s relay is normally open or normally closed, and whether the configured action is “energize on high” or “energize on low,” because that choice defines whether you are emptying a tank or filling one. Respect the relay’s rated voltage and current; never run motor current through the contact. And follow the local electrical code for isolation, fusing, and a manual disconnect so the pump can be locked out for service.
Building safe pump logic: overflow and dry-run protection

A single setpoint can start and stop a pump, but robust control adds protection at both ends of the band.
Overflow protection guards the top. Even with a high setpoint that starts the pump, a blocked discharge or failed contactor can let the level keep rising. A second, higher alarm setpoint — wired to an alarm relay or a separate alarm output — gives you a warning or a hard trip before the vessel overflows. Set it above the normal high point but below the physical overflow line.
Dry-run protection guards the bottom. Running a pump with no liquid can destroy a seal or impeller in minutes. The low setpoint should switch the pump off with enough liquid still present to keep the suction flooded. For pumps that are especially sensitive, add a separate low-low alarm below the normal stop point as a backstop. Because the ultrasonic sensor reads the surface continuously rather than relying on a single float, it can drive both the control action and these alarm thresholds from the same measurement.
Treat these protections as part of the design from day one, not as something added after the first failure. The cost of a second setpoint is trivial next to a flooded floor or a burned-out motor.
Hysteresis: stopping the pump from chattering
Hysteresis is the most important concept for stable pump control, and it is where many first builds go wrong. If the pump switched on and off at exactly the same level, the slightest ripple, foam, or inflow surge near that point would toggle the relay rapidly — a behavior called chattering or short-cycling. Rapid cycling overheats the motor, wears the contactor, and can trip protection.
The fix is to separate the on and off points so the relay only changes state after a meaningful change in level. In a two-setpoint scheme, the high and low points already provide that separation: the pump starts at the high mark, runs until the level drops to the low mark, then stops and waits for the level to climb back to the high mark again. The wider the band between the two, the longer each pump run and the fewer starts per hour.
As a starting rule of thumb, make the band wide enough that the pump runs for a comfortable interval rather than seconds, and check the pump manufacturer’s maximum starts-per-hour figure. If a single setpoint with a configurable deadband is all your model exposes, set that deadband large enough to ride through normal surface disturbance. You can also add a short on-delay or off-delay so the relay ignores momentary spikes, though a sensible band usually does most of the work. Many ultrasonic level sensors also apply internal signal averaging that smooths foam and turbulence before the setpoint logic ever sees it.
When to move beyond a relay: 4-20mA and Modbus
Relay output is ideal when you only need on/off action at fixed points. As an application grows, continuous information becomes more useful than a simple switch.
Consider moving up when you want to trend the level over time, display an exact percentage on an HMI, control pump speed proportionally with a variable-frequency drive, or feed level data into a PLC or SCADA system. For those needs, the sensor’s 4-20mA analog output gives a continuous reading you can scale into engineering units, while RS485 Modbus delivers a digital value plus diagnostics over a single bus to a controller. The same sensor can often provide the relay for local pump action and an analog or digital output for monitoring at the same time, by model.
If your requirements have outgrown a single point sensor, two paths are worth evaluating. A radar level transmitter handles vapor, foam, and aggressive surface conditions where ultrasonic energy struggles, and pairs naturally with 4-20mA or Modbus control loops. For a broader build that combines sensing, control, and integration in one specification, an integrated liquid level solution can consolidate the parts rather than wiring discrete devices together. Start with the relay because it is the fastest route to a working, automatic pump; step up to analog or digital control when the process genuinely needs continuous data.
When you are ready to match a sensor and output type to your pit, tank, or transfer station, request an application review and share your vessel dimensions, medium, and control goals so the configuration fits the job.
—
Related reading: explore more setup and selection guides in Volivue Technical Insights.